Recording MIDI
There are several ways to get MIDI into a MIDI track in Ardour apart from importing an existing MIDI file. Let’s have a look at them one by one.
Real-time recording
Perhaps the most obvious option to record MIDI into Ardour is connecting a MIDI keyboard to your audio interface or your computer directly and recording whatever you play. It’s a pretty straightforward process:
Select an existing MIDI track to record to or create a new one
Arm that track for recording (click the button with a red circle in the track header or press Shift+B)
Toggle the global recording mode (click the button with a red circle in the track header or press Shift+B)
Roll the transport (Space bar) to begin recording.
- Stop the transport (Space bar) when you are done.
Usually when you record a part from a MIDI keyboard, you should be able to hear yourself playing. If you see that everything is connected correctly and yet you still can’t hear any sound, check what MIDI channel your MIDI keyboard is sending note-on/note-off events to. It is entirely possible that it’s a channel other than 1, and your virtual instrument of choice got no patches loaded for that channel.
Step Entry
The Step Entry recording mode is convenient when a part is too complex to record in real time (think sweeping arpeggios of 1/128th notes at 140bpm). Instead of trying to achieve that live when you are on the schedule, you can use your keyboard to enter the notes one by one at your own pace. Ardour will record a note you play, move the playhead to the end of that note, then sit and wait for the next note you play.

To enable this mode, right-click on Record button of a MIDI track, choose Step Entry in the newly opened menu. The Step Entry dialog opens.

Here are the options:
Chord entry mode — you can play multiple notes at once, they will be recorded like a chord and willl be above each other on the pianoroll.
Note length presets, from a whole note to 1/64th.
Dotted note presets
Rest presets
Velocity presets, from pianississimo to fortississimo
Numeric inputs for MIDI data: channel, length of a note, velocity, octave (for entry from regular keyboard), MIDI bank and MIDI program (so that you could use e.g. pizzicato sample in a sample library rather than arc).
Now you have three options:
- Click piano keys with a mouse
- Press keys on your regular keyboard
- Use a MIDI keyboard connected to track’s input
For option 2, the middle row of letter keys is used for white keys, and the upper letter row is for black keys:

All the settings you see in the Step Entry dialog apply to the options 1 and 2. For each note you input next, you can set:
- Length, from a whole note to 1/64 (or any length when using the 1/Note spinbox), with optional chord input
- Channel
- Velocity (z through < on English (US) keyboard can be used as keyboard shortcuts)
- Octave (keys 1 through 9 can be used as shortcuts)
You can also insert rests which basically means that Ardour shifts the editing cursor to the right by the currently selected note length.
When you use a MIDI keyboard for step entry, only a subset of settings in the dialog apply. Ardour will use the defined note length, but it won’t bother with either velocity, channel, or octave settings and will use whatever you send from the keyboard.
Let’s try to use it and create a simple bass line that we can later use in the project.
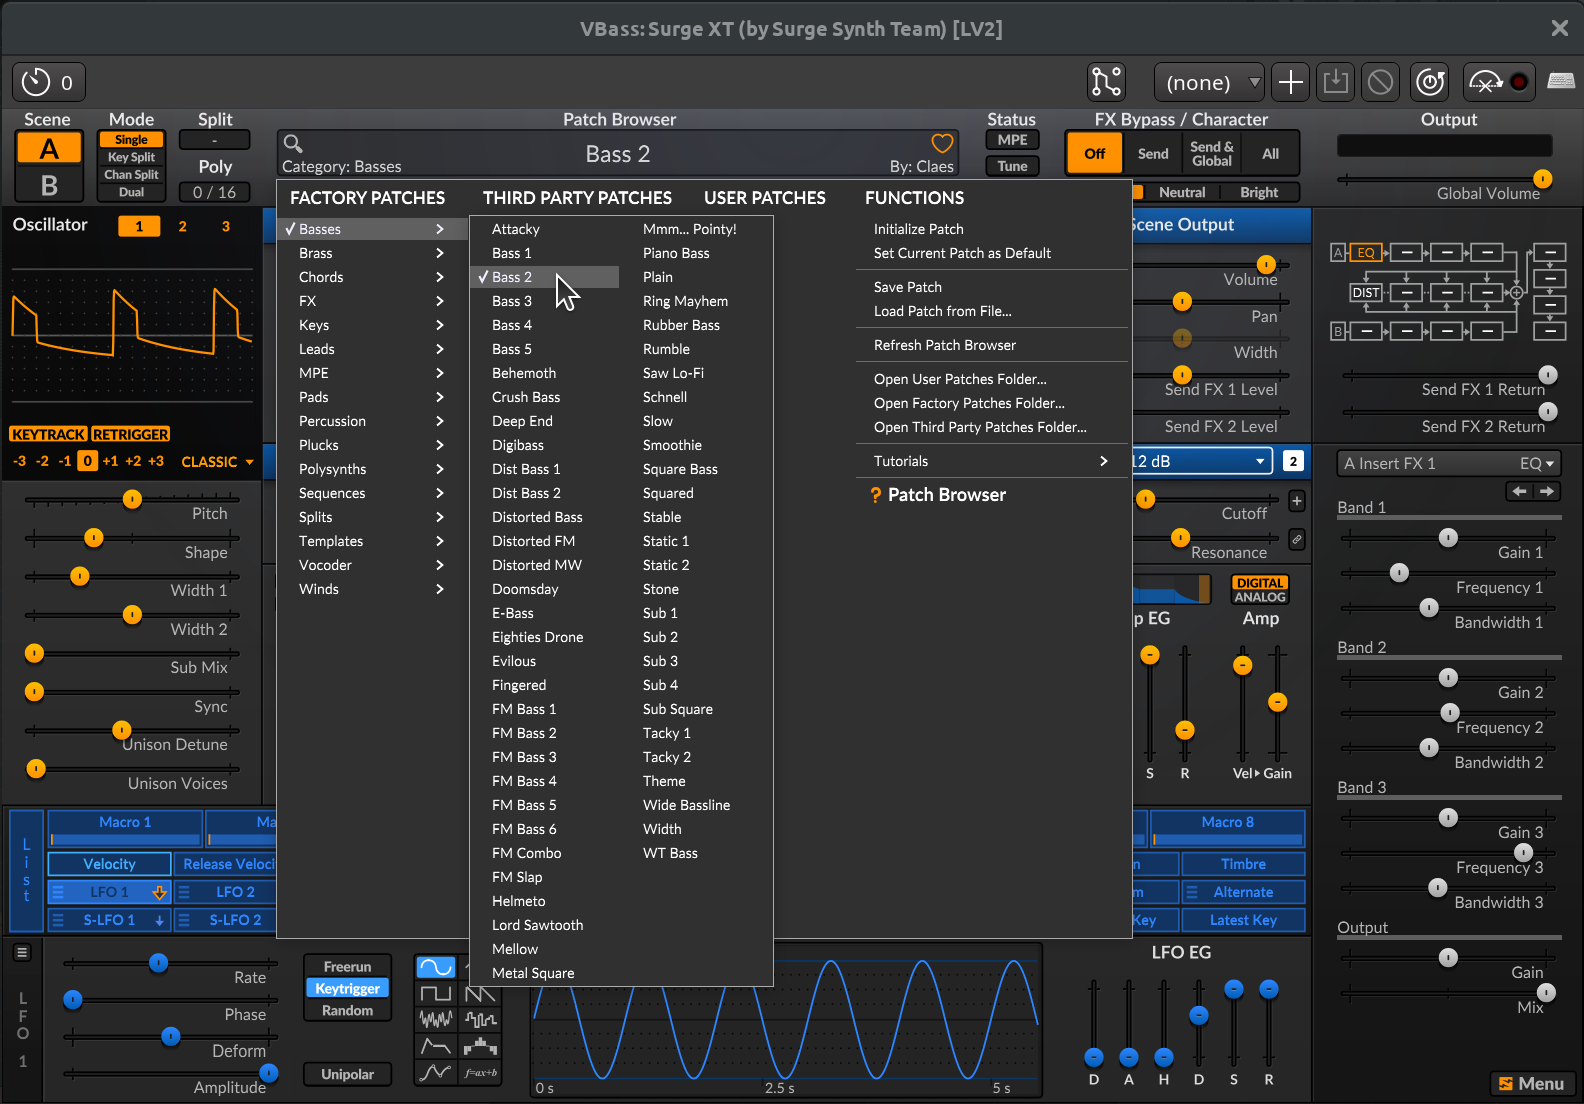
Create a new track, select Surge XT as a virtual instrument.
Open the Factory Patches navigator and select Bass 2 in Basses.
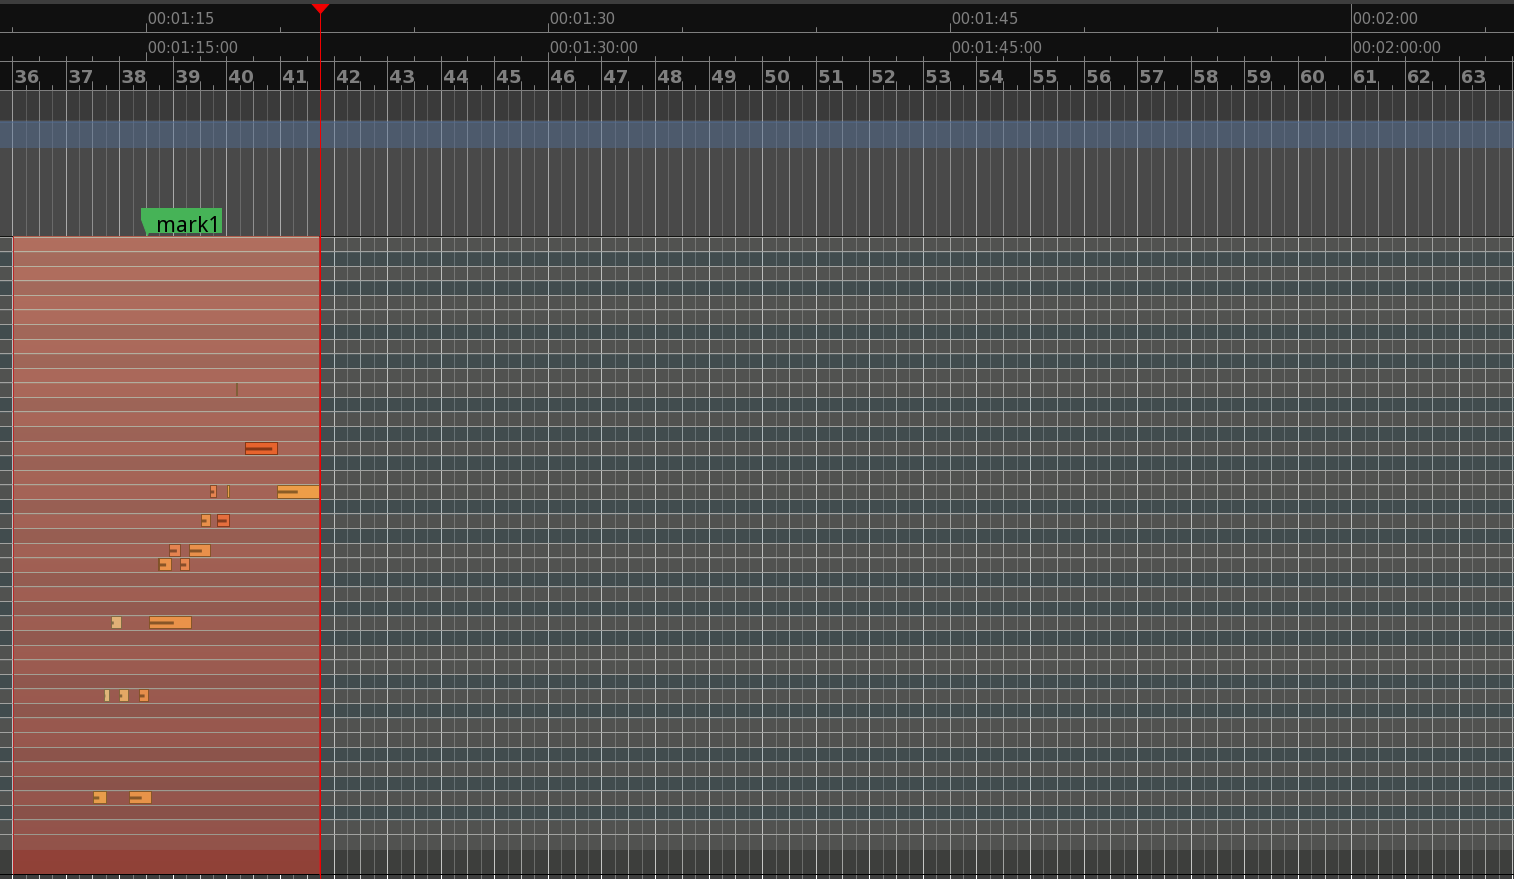
Make sure the playhead is at the beginning of the session so that it matches the beginning of the first bar of all percussion tracks in the current project.
Open the Step Entry dialog
Select 1/8 note length and octave 3
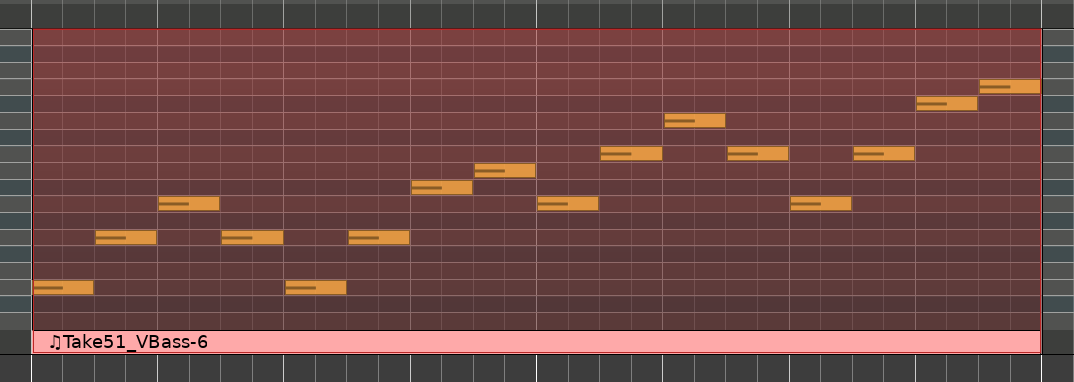
On your regular keyboard press D,G,H,G,D,G,U,J,H,4,A,S,A,3,H,4,A,E,D.
Now you have a basic bass line you can repeat.
Drawing notes on the piano roll
Perhaps the easiest way to add notes to a MIDI track is to draw them on the canvas.
Create a MIDI track.
Switch to the Draw mode by pressing D or clicking the respective button in the toolbar.
Click and drag on the canvas to create a MIDI region.
- Point the mouse to where a note should begin, press and hold left/primary mouse button and drag to the right as far as the note should go. Release the mouse button.
- The top toolbar has some default settings for new notes: duration, velocity, channel. You can change these settings before adding new notes: by either choosing a preset in a drop-down list of by scrolling the mousewheel over any of the three drop-down lists.

- Repeat until you wrote down the melody.
If you are not accustomed to this type of entering notes and mentally rotating the keyboard by 90° clock wise seems difficult for you, try clicking on the vertical piano keyboard widget to listen to notes until it grows on you.
While in the Draw mode, you also can do some leight editing: select and resize individual notes, drag them around, adjust velocity, use the right-click menu to perform various transformations.
Continuing
In the next chapter, we’ll talk about helping yourself to perform in sync with the rest of the session material, whether you are using a MIDI keyboard to record a lead synth part or a bass guitar.
Next: PERFORMING ON TIME