Stretching & shrinking regions
Regions can be stretched or shrunk in length without changing their pitch by using the Stretch/Shrink Regions tool (T shortcut, for “Time-stretch”).

A small adjustment to the length of a region may not cause noticeable sound artifacts. However, the more extreme the change in length, the more obvious the effect of processing on the sound.
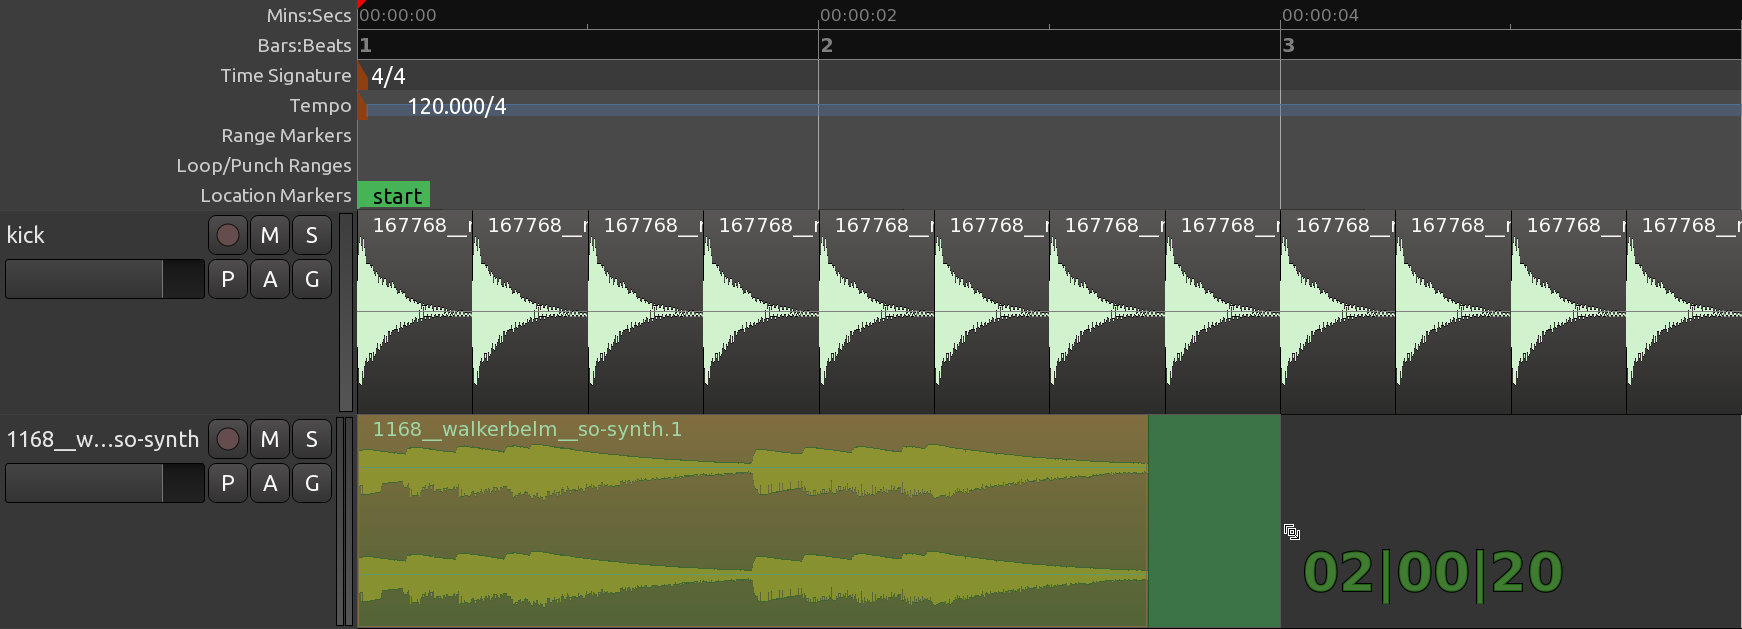
To use Stretch/Shrink Regions, place your cursor on top of the region, and then click-drag left or right. While dragging, you will see a highlighted area which represents the new duration to which the region will be shrunk or stretched when you release the mouse at the current position. Ardour will also display the new duration of the region next to the highlighted area in units of the primary clock.

Time-Stretching a Region to Fit the Loop
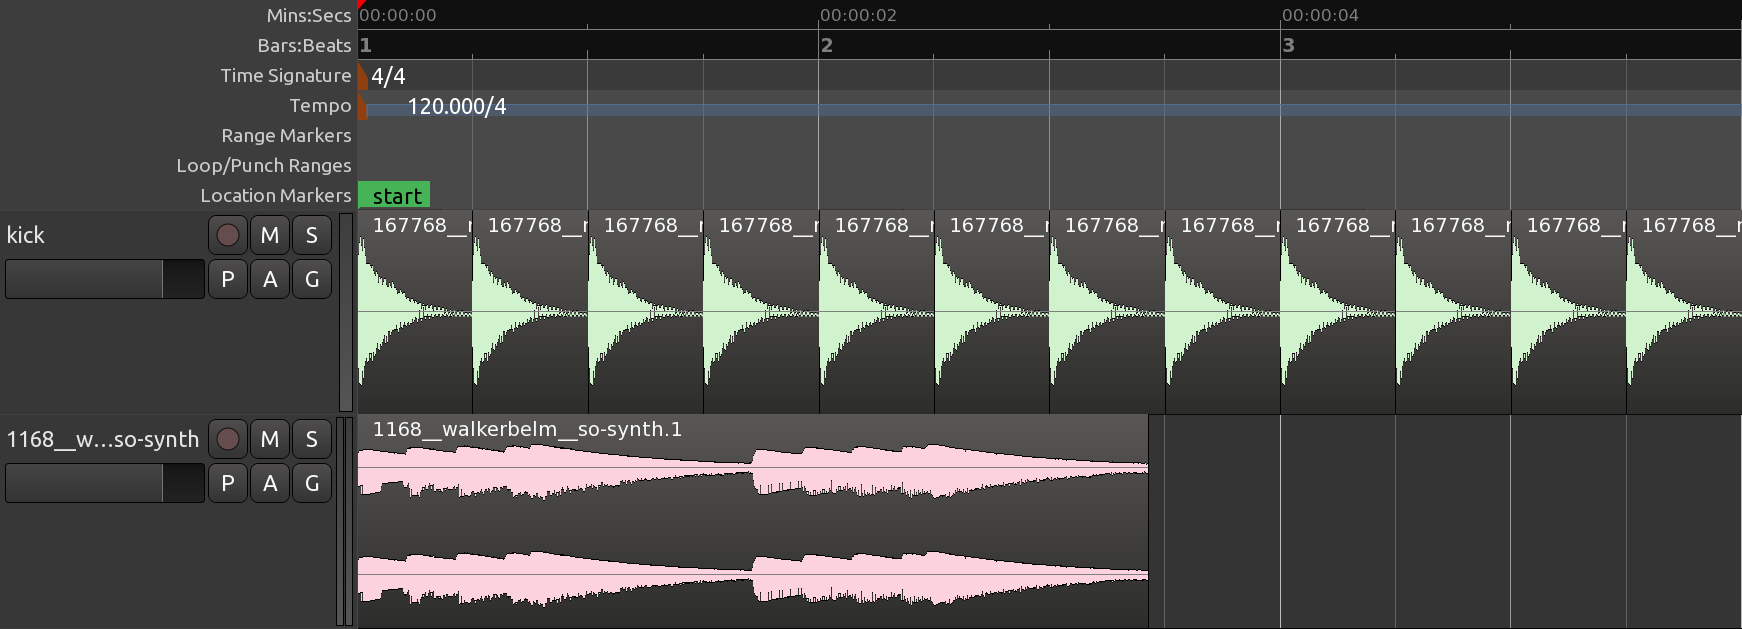
In the image below, we’ve added another sound sample—this time, a synthesizer line from freesound.org to the rhythmic passage we composed in the Creating Looped Sections chapter.
After importing this synth line, you will see that the length of the new region doesn’t match the existing rhythm we’ve already created. It’s too long to be one bar and too short to be two bars. More importantly, while the first note matches the beginning of the kick drum’s sound above, the second note is clearly off-beat.

We can correct this by using the Stretch/Shrink tool. Select the region you wish to stretch, switch to the tool, click on the right side of the region, then drag the cursor until the newly created highlight area matches the new length, that is, all the way to the second bar (again assisted by the Grid settings).

When you release the mouse button, the Time Stretch Audio dialog appears. You can experiment with different settings for the Time Stretch operation. Each will affect the sound in a different way. It’s a good idea to try different stretch settings to find out which one gives you the result you’re most happy with.

Click Stretch/Shrink in the Time Stretch Audio dialog to start the operation.
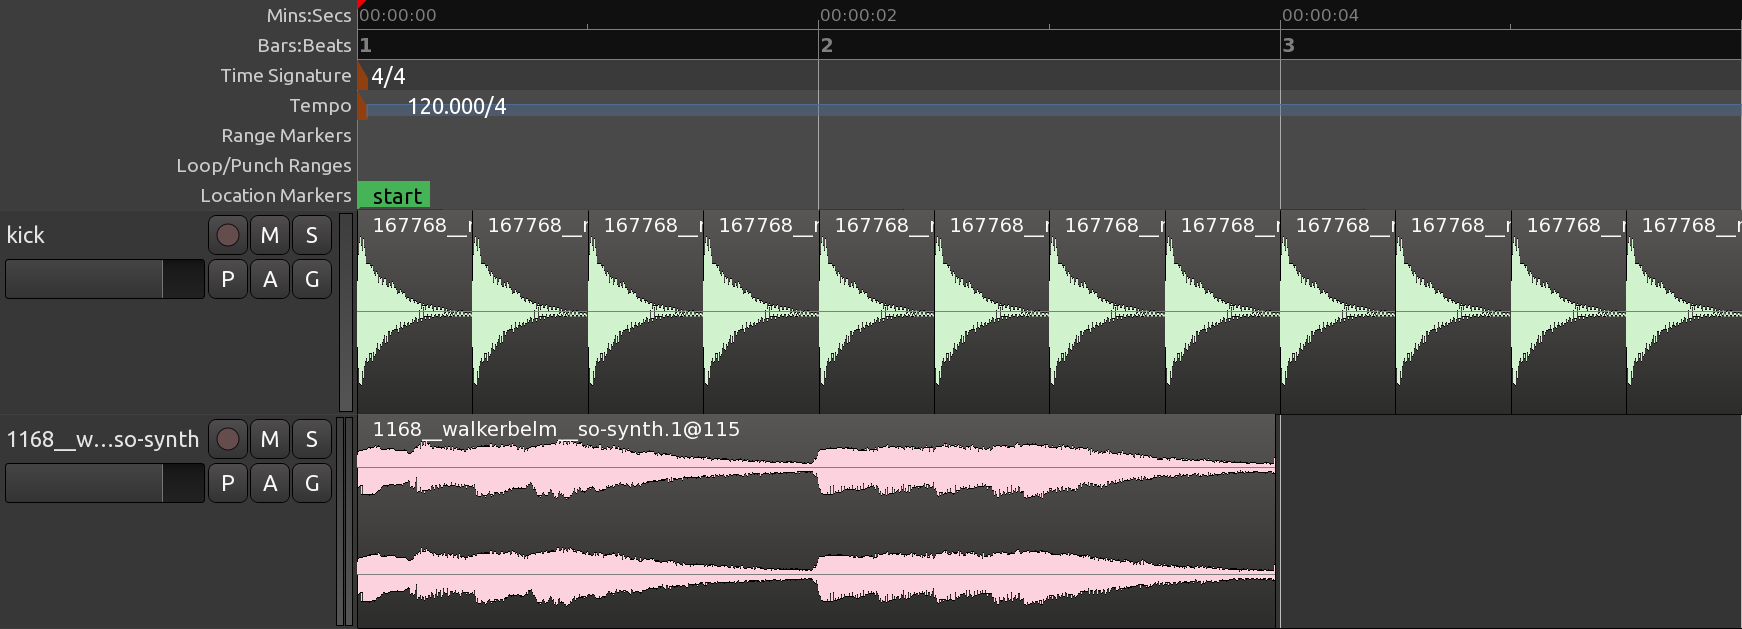
When the operation is complete, the region of the synthesizer line will now be exactly two bars long and should fit in with the rhythm we already created with the drum samples.

Continuing
Now let’s talk about editing MIDI regions.
Next: EDITING MIDI REGIONS