Editing MIDI regions
Almost all the MIDI editing happens in the Internal Edit mode (E shortcut). The vast majority of the work there involves tweaking position and duration of notes, adjusting velocity, and editing automation. Ardour provides tools to edit these settings both interactively and numerically.
So let’s review available tools and then do a quick exercise.
Most of the editing assumes having at least one note selected in a MIDI region. We’ll start with selecting notes.
Selecting notes
There are multiple ways to select notes in the Internal Edit mode, it really depends on what you want to do.
To select one note, just single-click it. To add another note to the selection, press and hold Ctrl, then click that note. To remove a note from the selection, again, press and hold Ctrl, then click it.
If you need to extend an existing selection to another note and include all notes inbetween, press and hold Shift, then click the note that you want to extend the selection to.
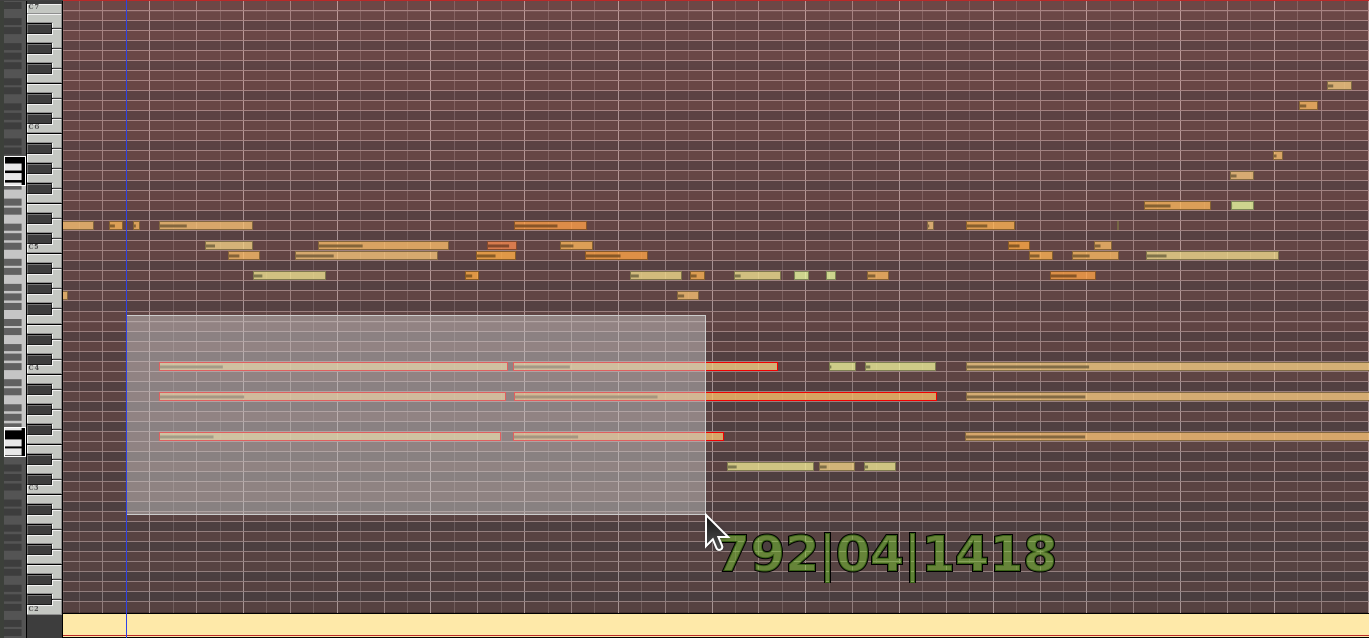
To select multiple adjucent notes, you can do a regular rubberband selection. Move the mouse pointer to a blank part of the canvas that is close to those notes, press and hold the left mouse button, then drag the mouse to “draw” a rectangular area. All notes inside that area will be selected. Release the mouse button to complete the selection.

Finally, if you need to select all notes, just press Ctrl+A.
Once you selected multiple notes, you can mass-edit them in various ways.
Editing start and end of notes
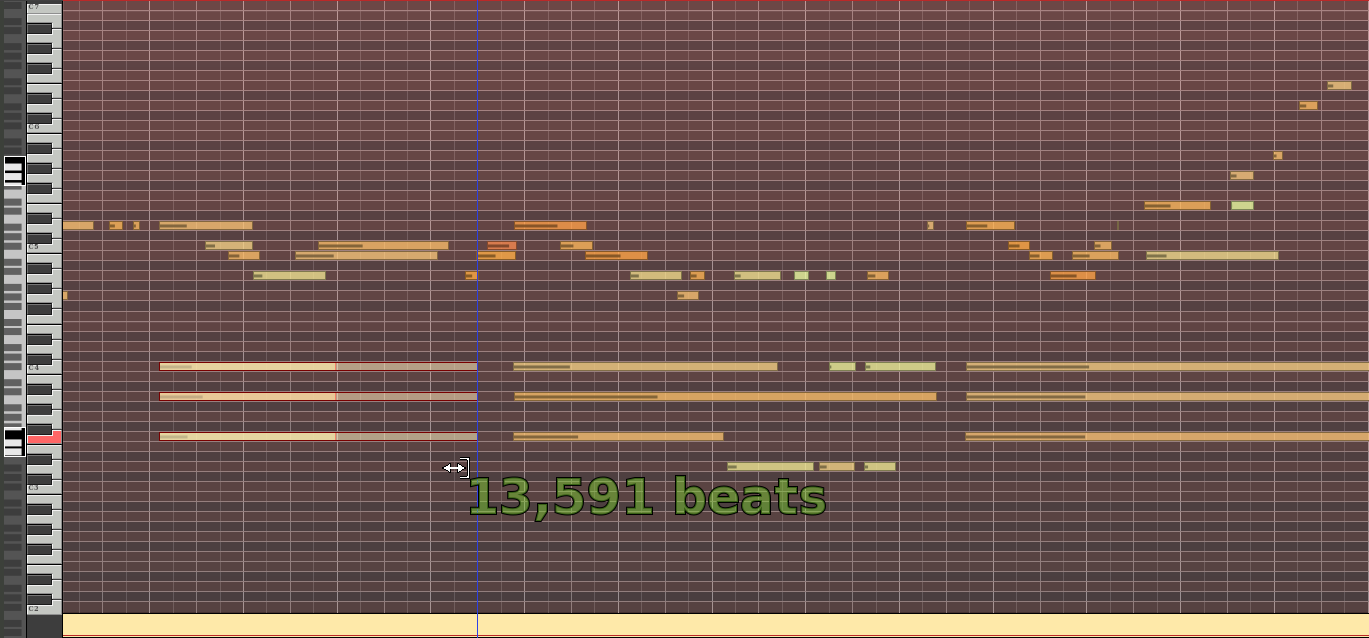
To edit the start or the end of the note, hover an edge of a note until you see the mouse pointer change its icon. Then press and hold the left mouse button, drag left or right to edit, release the mouse button to confirm the edit.
Snapping options apply here, when snapping is enabled. Moreover, if multiple notes are selected, they all will be shrunk or extended.

Quantization effectively means adjusting start and end times of notes in a way that makes them snap to a grid of your choice. It is something you will probably use after real-time recording. Ardour provides some flexibility when applying quantization: you can snap to grid just the starts, just the ends, or both.
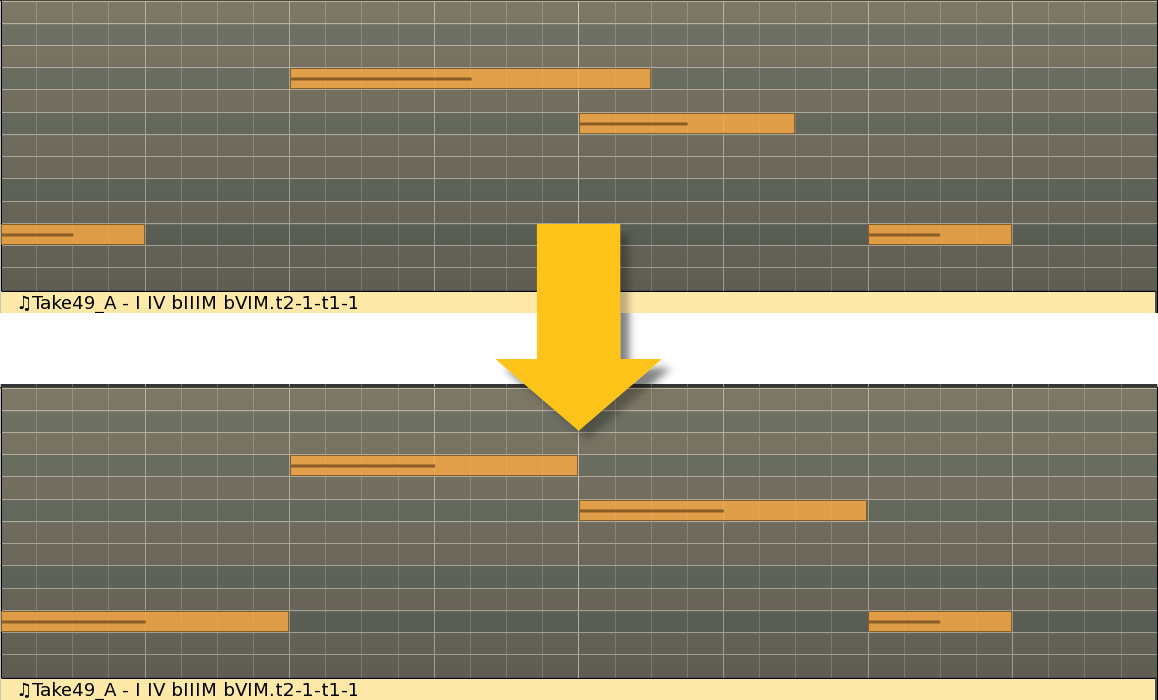
Another command that effectively adjusts the duration of notes is Legatize. When you have two notes that begin at different positions on the timeline, Legatize adjusts the end of the note that begins earlier so that it ends exactly where the second note begins. This might mean either expanding or shrinking the duration of the earlier note:

As you can see, the first note is expanded to join the second one, and second one is shrunk to join the third one, and the third one is expanded to join the fourth one.
Shifting and transposing notes
You can shift and/or transpose selected notes by just pressing arrow keys on your keyboard. Alternatively, you can hover the middle of one of the selected nodes, press the left mouse button, hold it and then drag the selection left/right or up/down (or both).
You can also transpose by a given amount of octaves and semitones in one go. Left-click on the region where some notes are selected, choose Transpose…. Then specify the amount of octaves and semitones to transpose by.

Editing velocity
Ardour uses two ways to represent a note’s velocity: through color coding and through a 2D chart.

The paler the note and the shorter the dark line inside the note, the lower the velocity. A deep red note and the dark line going through the entire note mean the velocity is at (on near) its maximum value.
To quickly change a note’s velocity, hover its middle on the canvas, then start scrolling the mouse wheel up and down to change the velocity value. When multiple notes are selected, each will receive the same amount of adjustment. So you can select, let’s say, 3 notes at 25, 50, and 100 velocity values respectively, increment each one by 20, and end up with notes that have 45, 70, and 120 for velocities.

A simple way to numerically change velocity (as well as MIDI channel, pitch, and position) is to use the note’s properties dialog. Right-click on a note or multiple notes, then select Edit….

If multiple notes have been selected, you can mass-change them to the same value. For that enable the Set selected notes to this velocity option before applying changes.
Editing example start to end
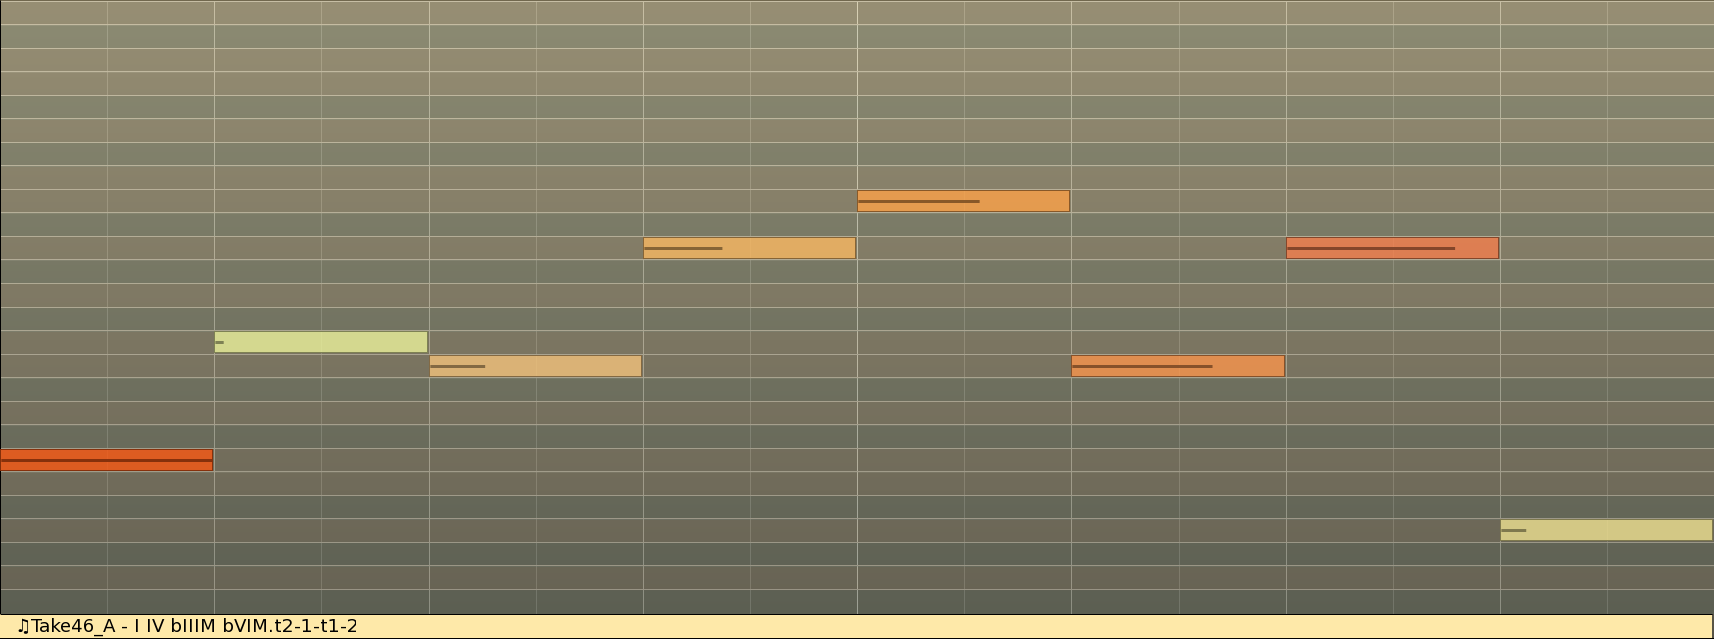
Let’s have a look at this quick real-time performance capture.

Even without listening to it, a few things stand out:
- wrong start times;
- wrong durations;
- velocity all over the place.
Let’s fix it and start with positions and durations.
- Press E to switch to the Internal Edit mode. Rubberband-select all visible notes.

- Right-click and select Quantize (or just press Q). Use 1/8 Note or Main Grid for note starts and ends, because in this case, it’s the same thing.

This is already much better:

But there are some overlapping notes.
- Right-click and select Legatize.

- Press Arrow Left key just once to shift all selected notes by one grid unit (it’s 1/8 Note) so that they start right at the beginning of the bar:

Positions are all fine now. But there’s more.
- It’s time to cleanup velocity. Select all notes but the first one in each of the two bars. You can do that by pressing Ctrl+A, then press and hold Ctrl and click on the first note in each bars to deselect them. Or you can rubber-band select the first portion (sans the first note), then press and hold Shift and add the second portion (sans the first note in that bar as well).

- Right-click, select Transform. We need to set this to more or less the same lower velocity, let’s say, 60. So we set Velocity, we set it to an exact value, and we use 60:

This, again, much better:

But it’s going to sound a little too robotic if we keep it that way.
- Let’s call the Transform dialog again and add a tiny bit of random variation:

Given the small range of the variation, the difference won’t be very visible. But if you hover individual notes, you’ll see that notes’ velocities are now somewhere between 56 and 64.
- Finally, click the first note of the first bar and use mouse wheel scrolling to set its velocity to 82, then repeat for the first note of the second bar. You will now have a regular velocity pattern where the first note of each bar sounds louder than the rest of the notes in each bar.

Continuing
This was the last chapter of the Editing Regions section. Next we go into Mixing.
Next: PERFORMING LIVE