Creating looped sections
You can easily repeat sections of audio in your Ardour session.
Here, we take the short rhythmic passage we created in Working with Regions and duplicate it to make a loop.
Before duplicating the passage, it is a good idea to combine individual regions in the same track into a single one: it is easier to move them around this way, and it prevents you from accidentally moving a single hihat out of place, for example. There are two ways of doing this: Combine Regions (allows you to “uncombine” later on), and Consolidate Range (“writes it in stone”, does not allow you to separate them later).
If you are still planning on making alterations to the rhythm (adding, removing, or moving individual regions), it may be better to use the Combine regions option. If you like the sequence the way it is and don’t want or don’t care to have the ability to separate them later, use Consolidate Range option.
Combine Regions
Simply select all the regions you want to combine:

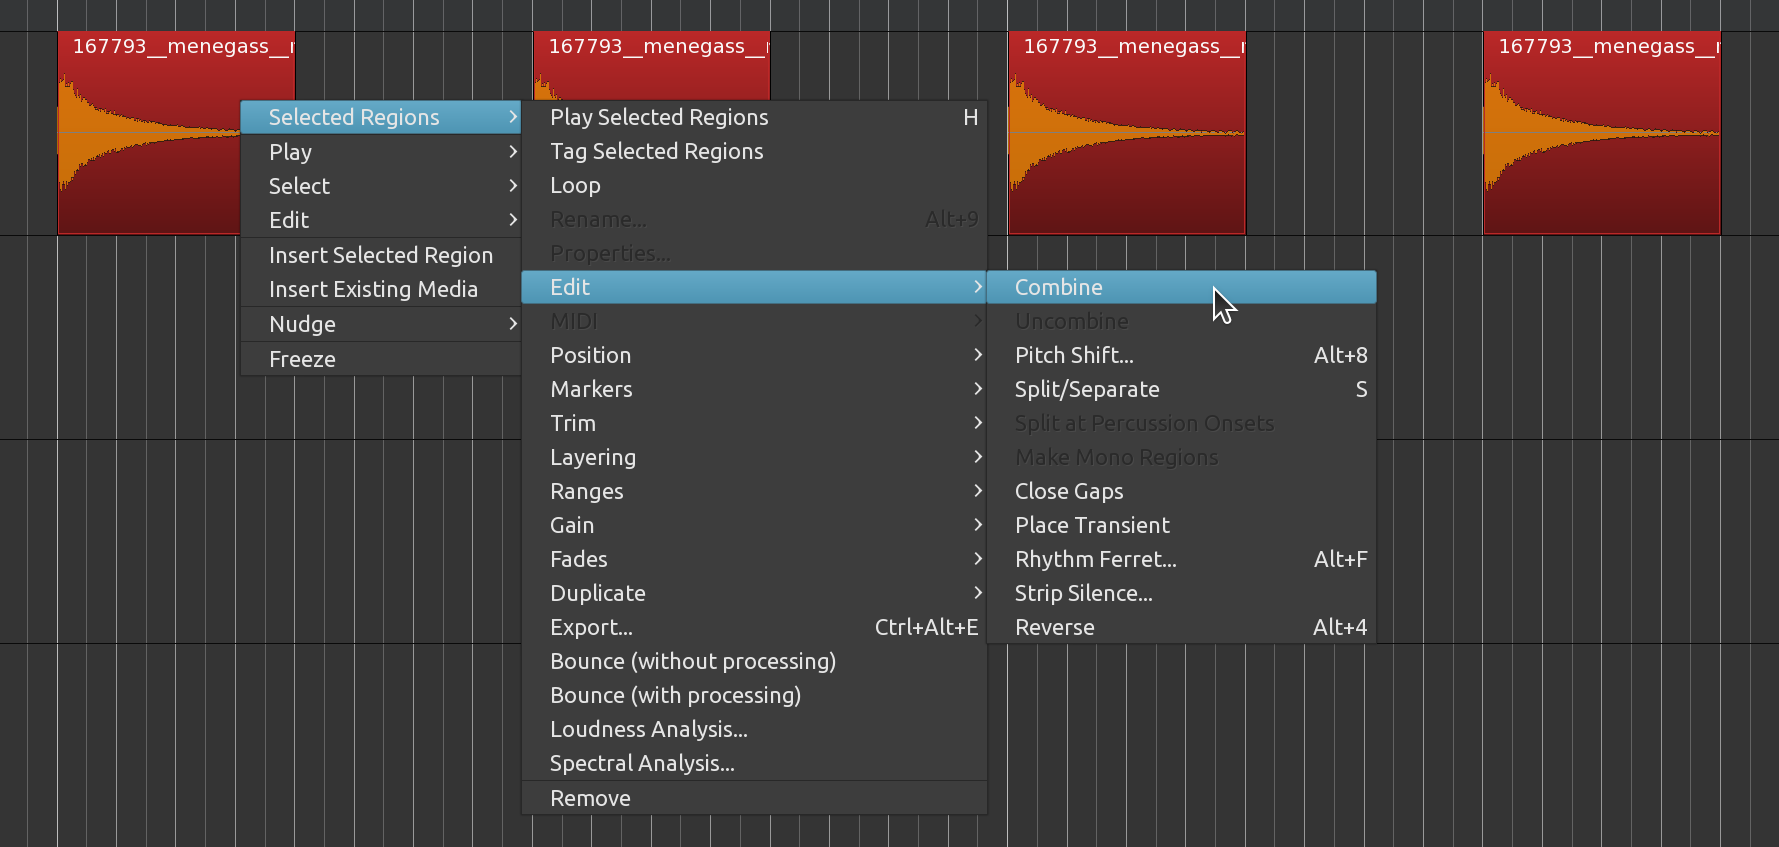
Then go to menu Region > Edit > Combine (or right-click on the selected
regions and find the same option through the context menu, as shown below):

The combined regions will look like this (note the word “compound” appended to the name):

Should you need to separate them again in the future, simply select the compound region and go to the same menu and choose the option Uncombine.
Consolidating the Range
A more permanent alternative to Combine is to use the Consolidate. When you’ve arranged your regions into a single “loop cycle” and you’re satisfied with the sound, create a range with all the regions that will make up the loop.
First, make sure every track used in the loop is selected. Unselected tracks are gray, and selected ones are colored (depending on UI theme). If any of the tracks you used are not selected, hold down the Shift key while clicking on them to add them to the selected group. Finally, use the Range tool to select the entire loop.
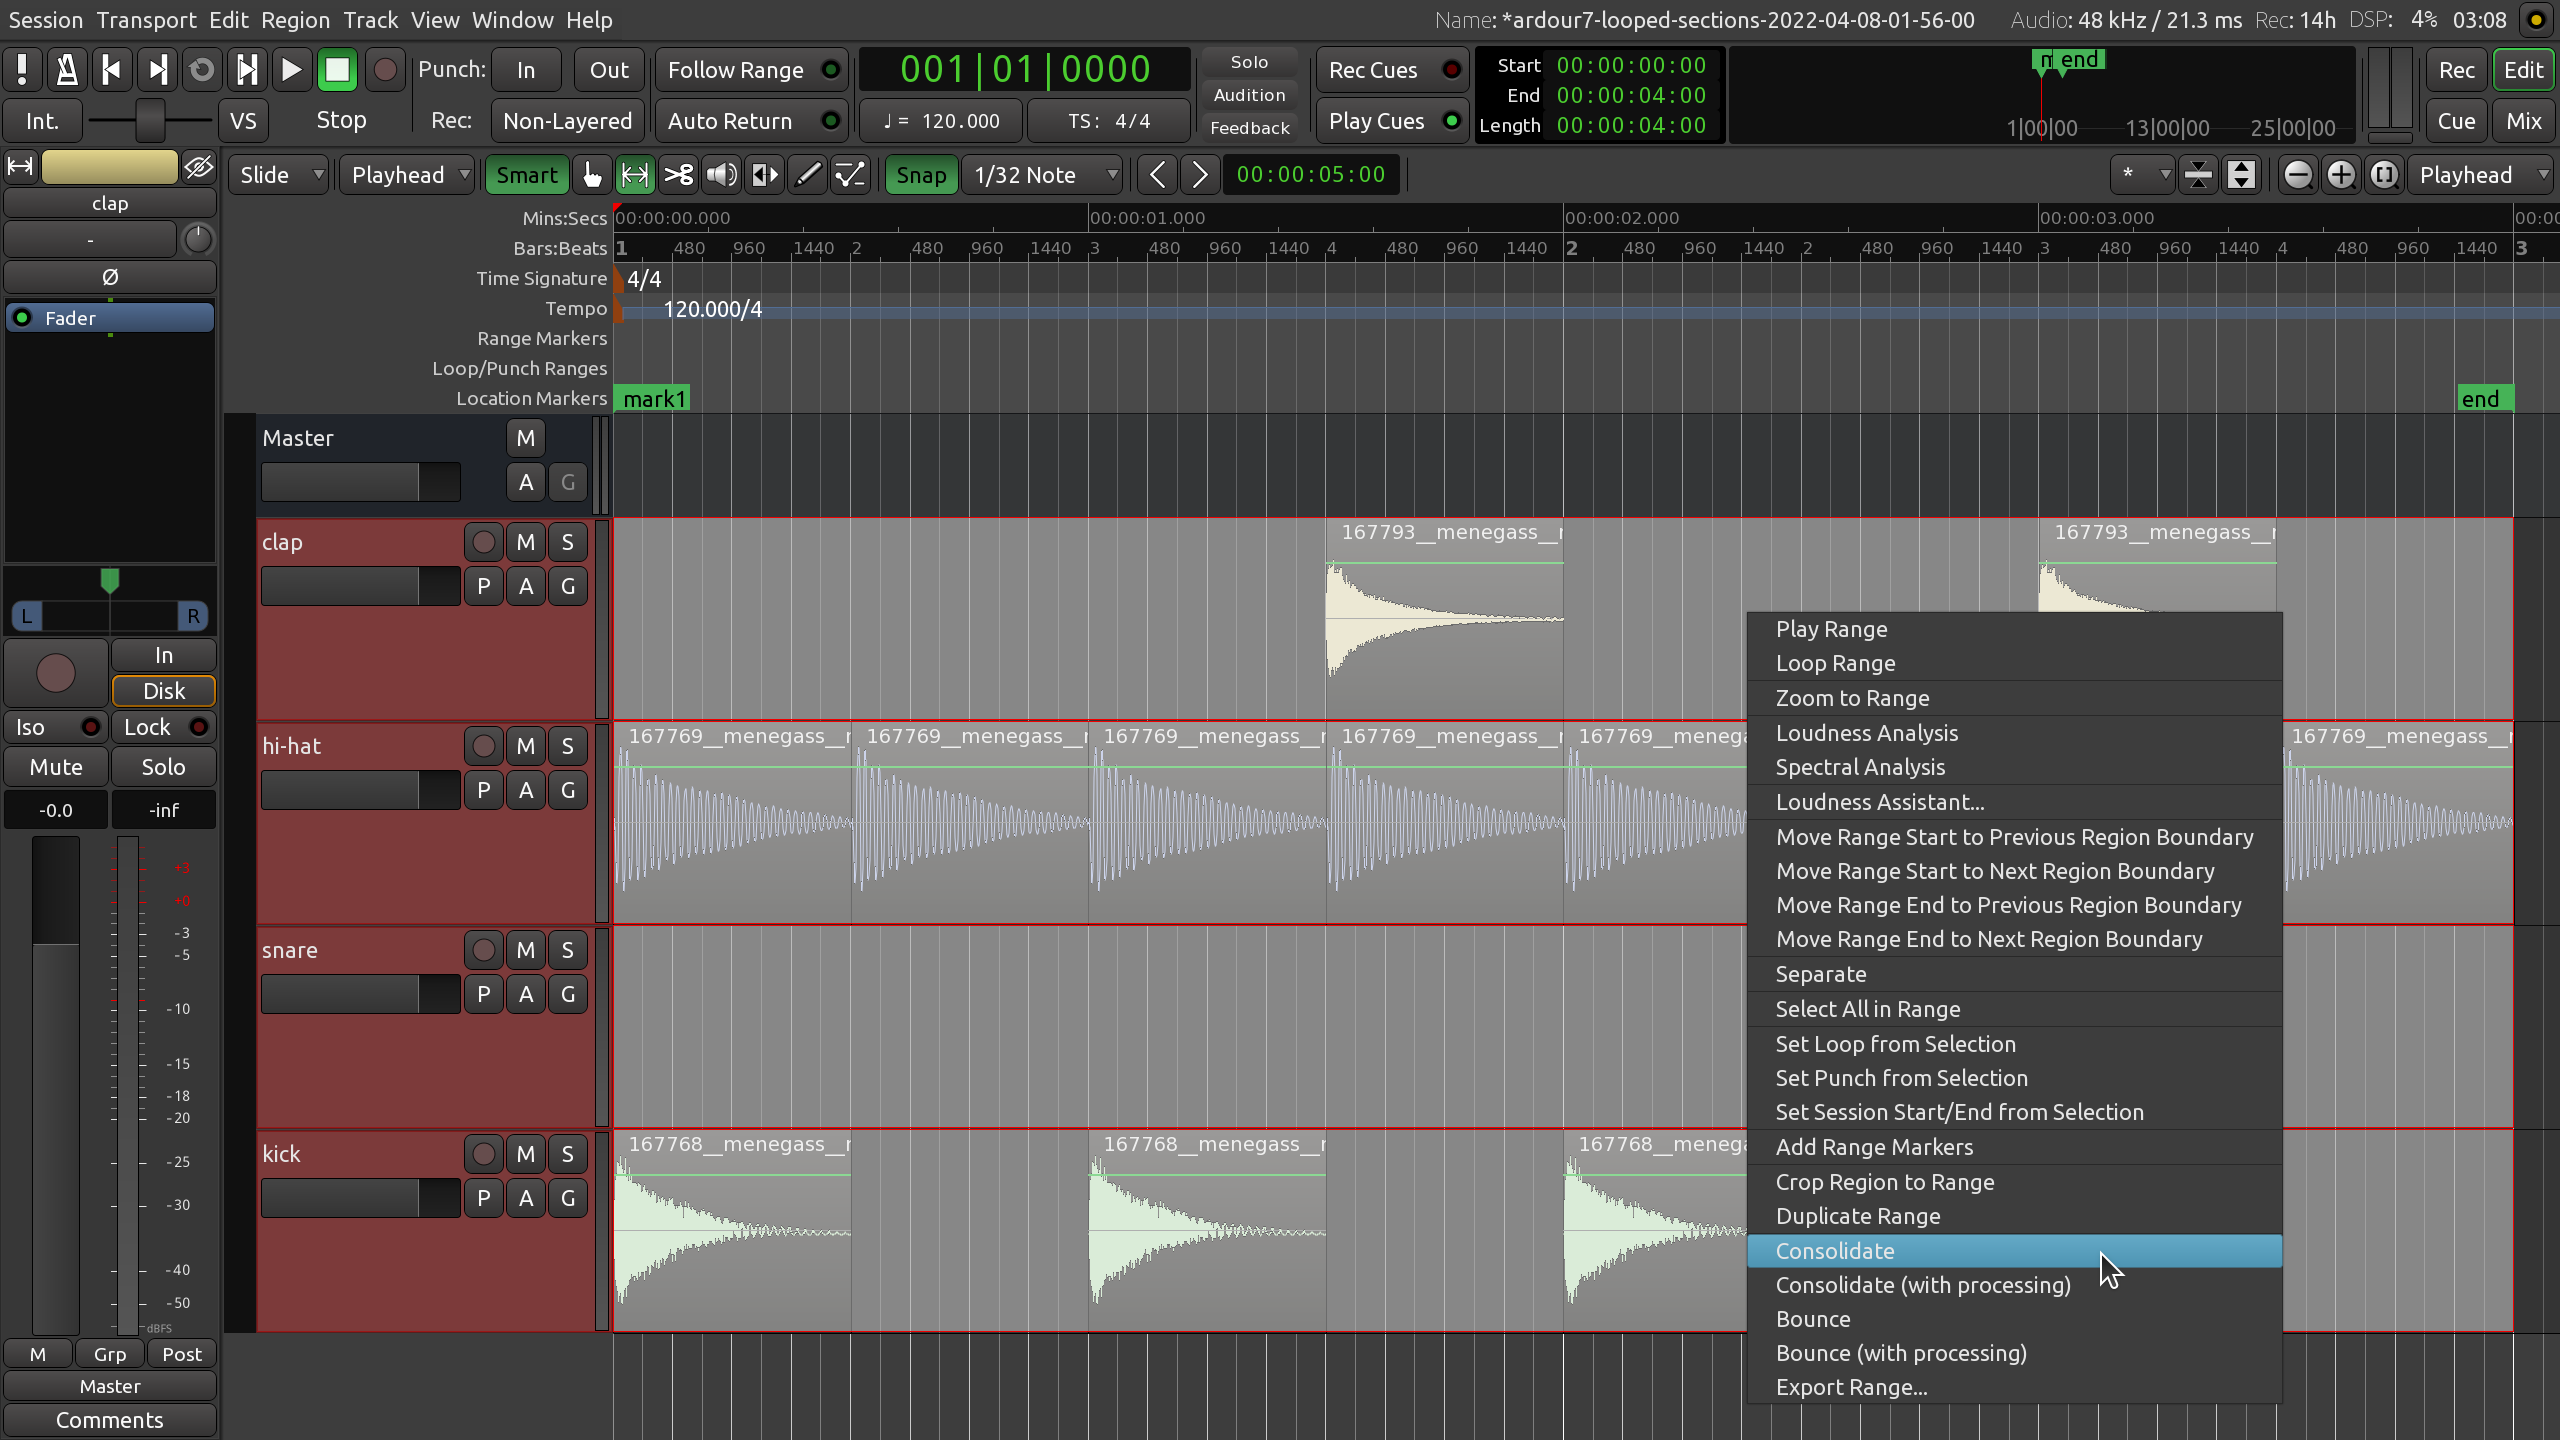
Once again, the Grid setting will help you to set the range precisely to the start and end points of your metric bar. Once you have the entire loop selected, right-click on the range and select Consolidate range. If you would like any automation or plugin effects you have added to the loop to be included, select Consolidate range with processing.

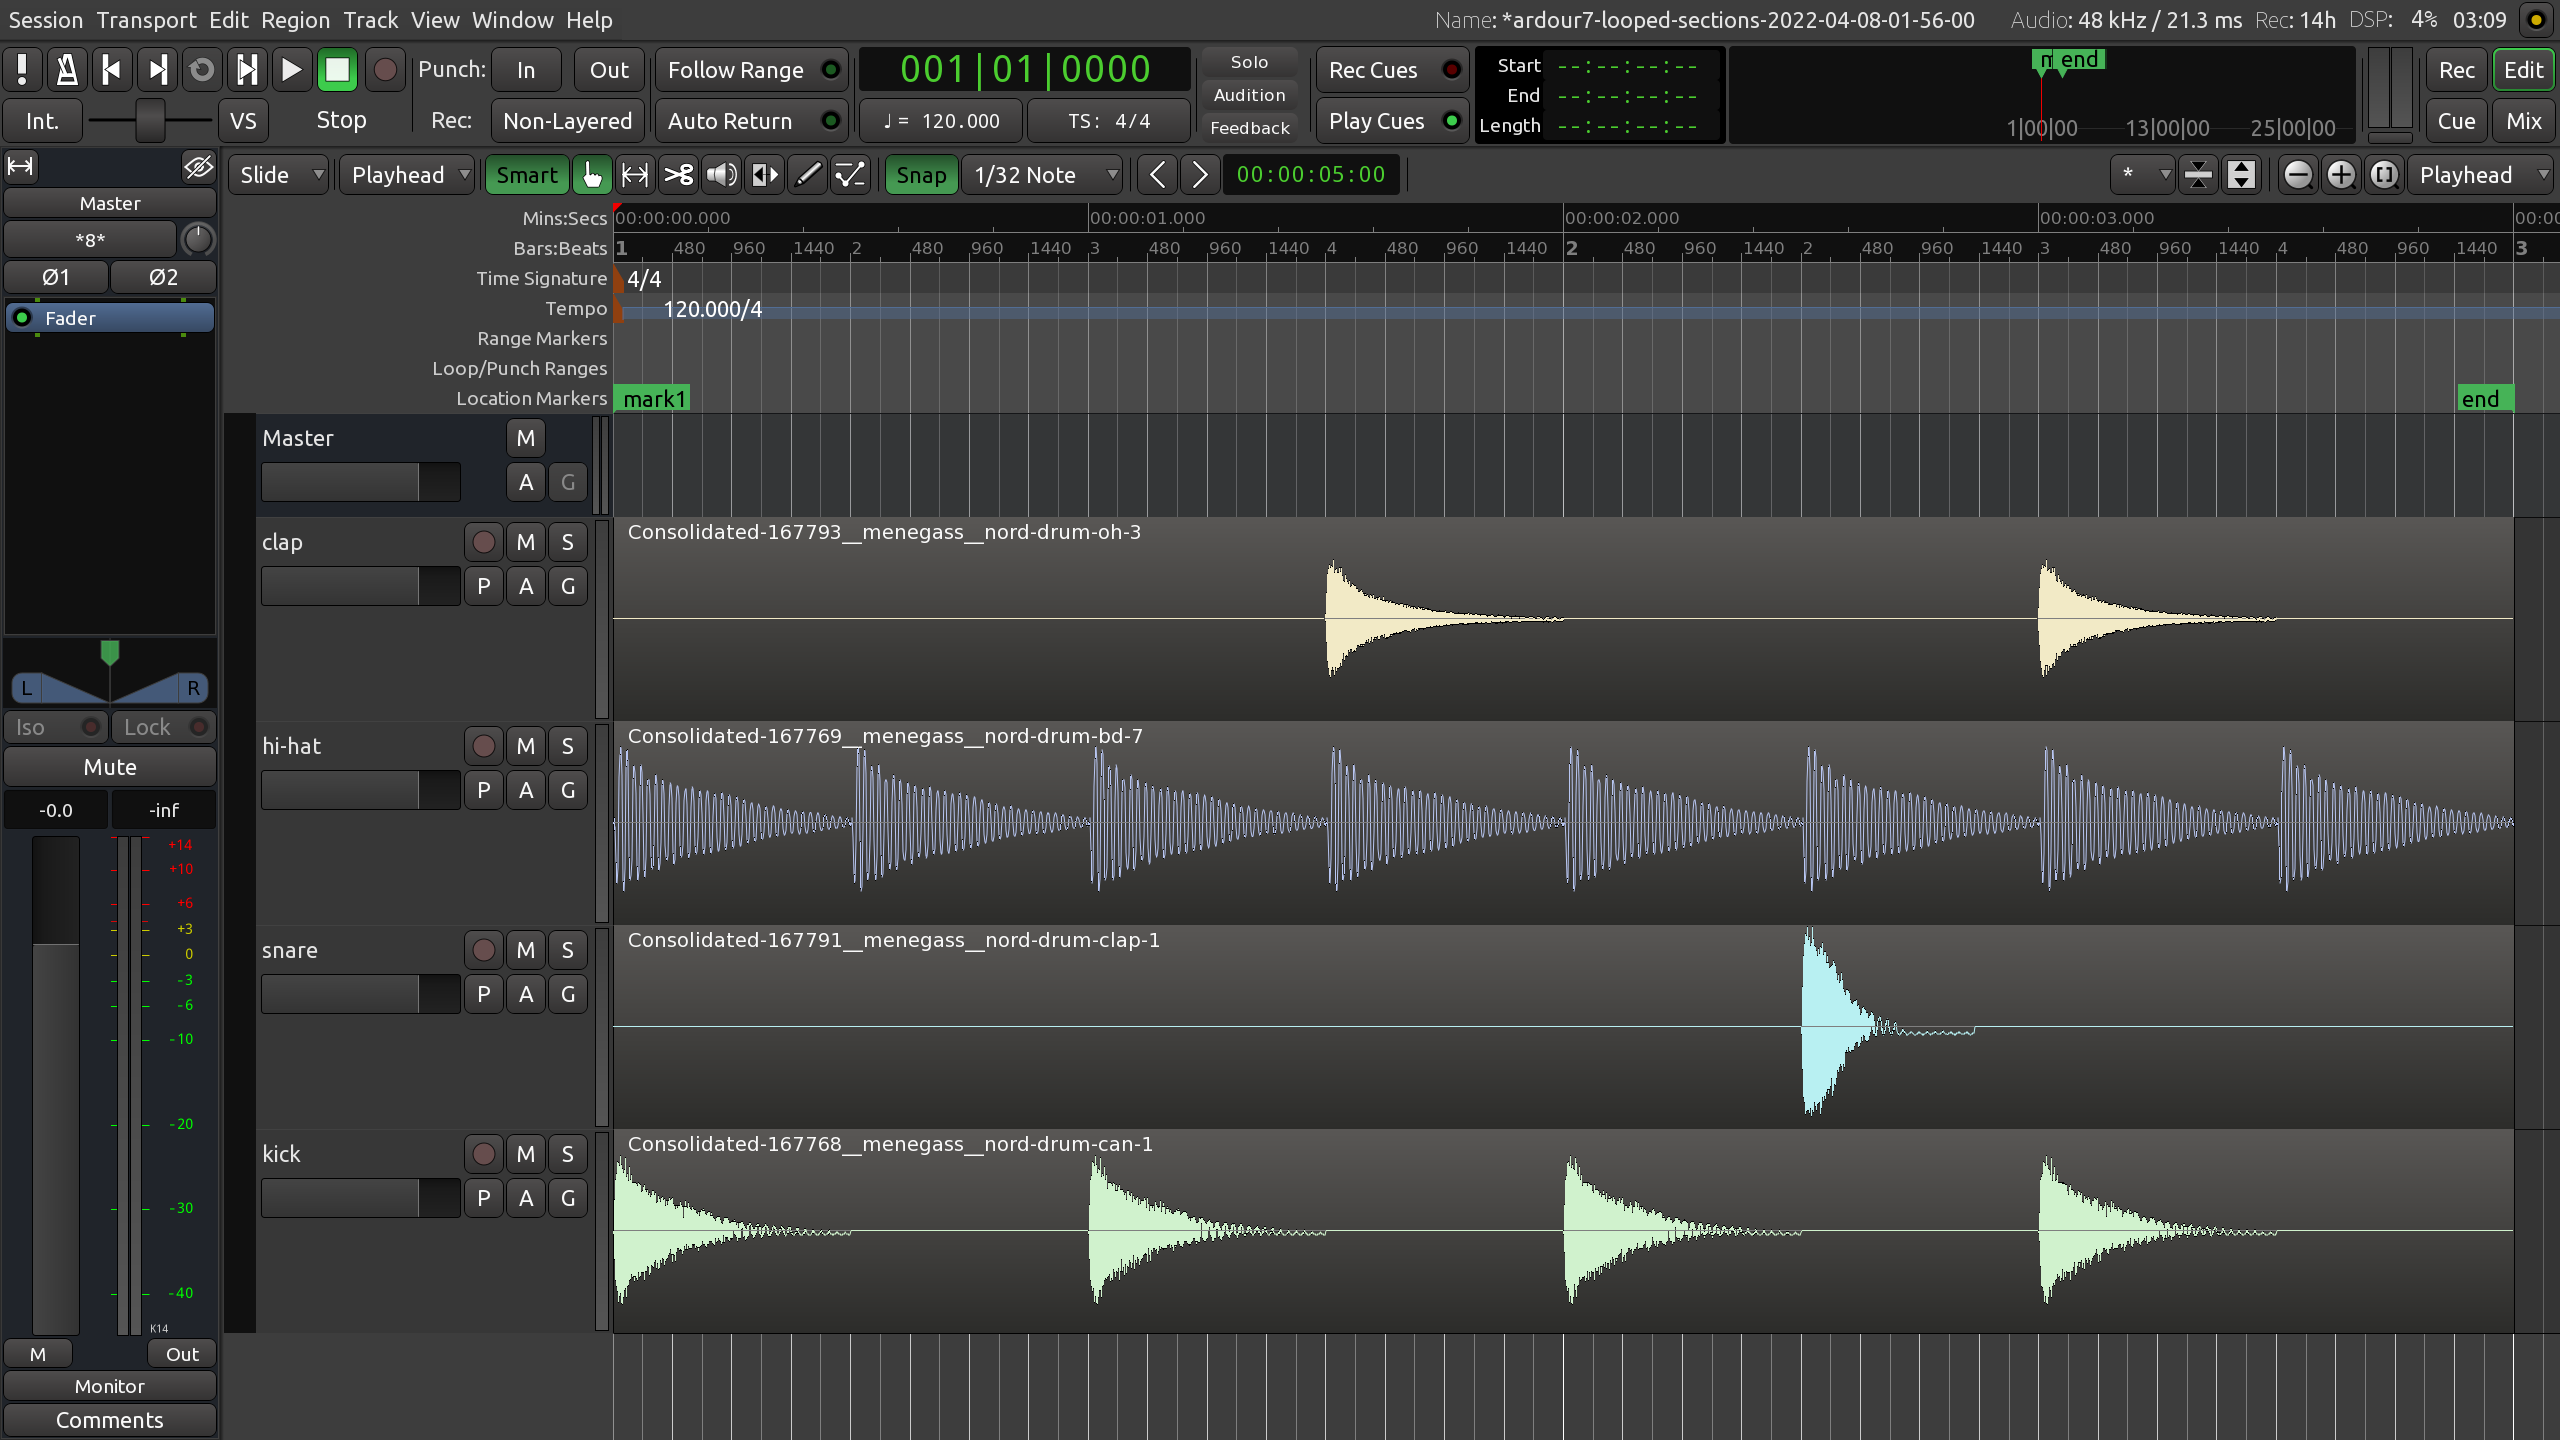
When the range is consolidated, new regions will appear in each track, each containing all the repetitions of the samples which you set up in the previous steps. Remember, once the range is consolidated, there is no way to undo this operation. In any case, if you find that you need to alter the rhythm in any way, you can always retrieve the original individual samples from the region List and rebuild the pattern with them.

Duplicating the Range
After you have merged individual regions that form your pattern (using either Combine or Consolidate), it’s time to duplicate the pattern to make it loop for several bars.
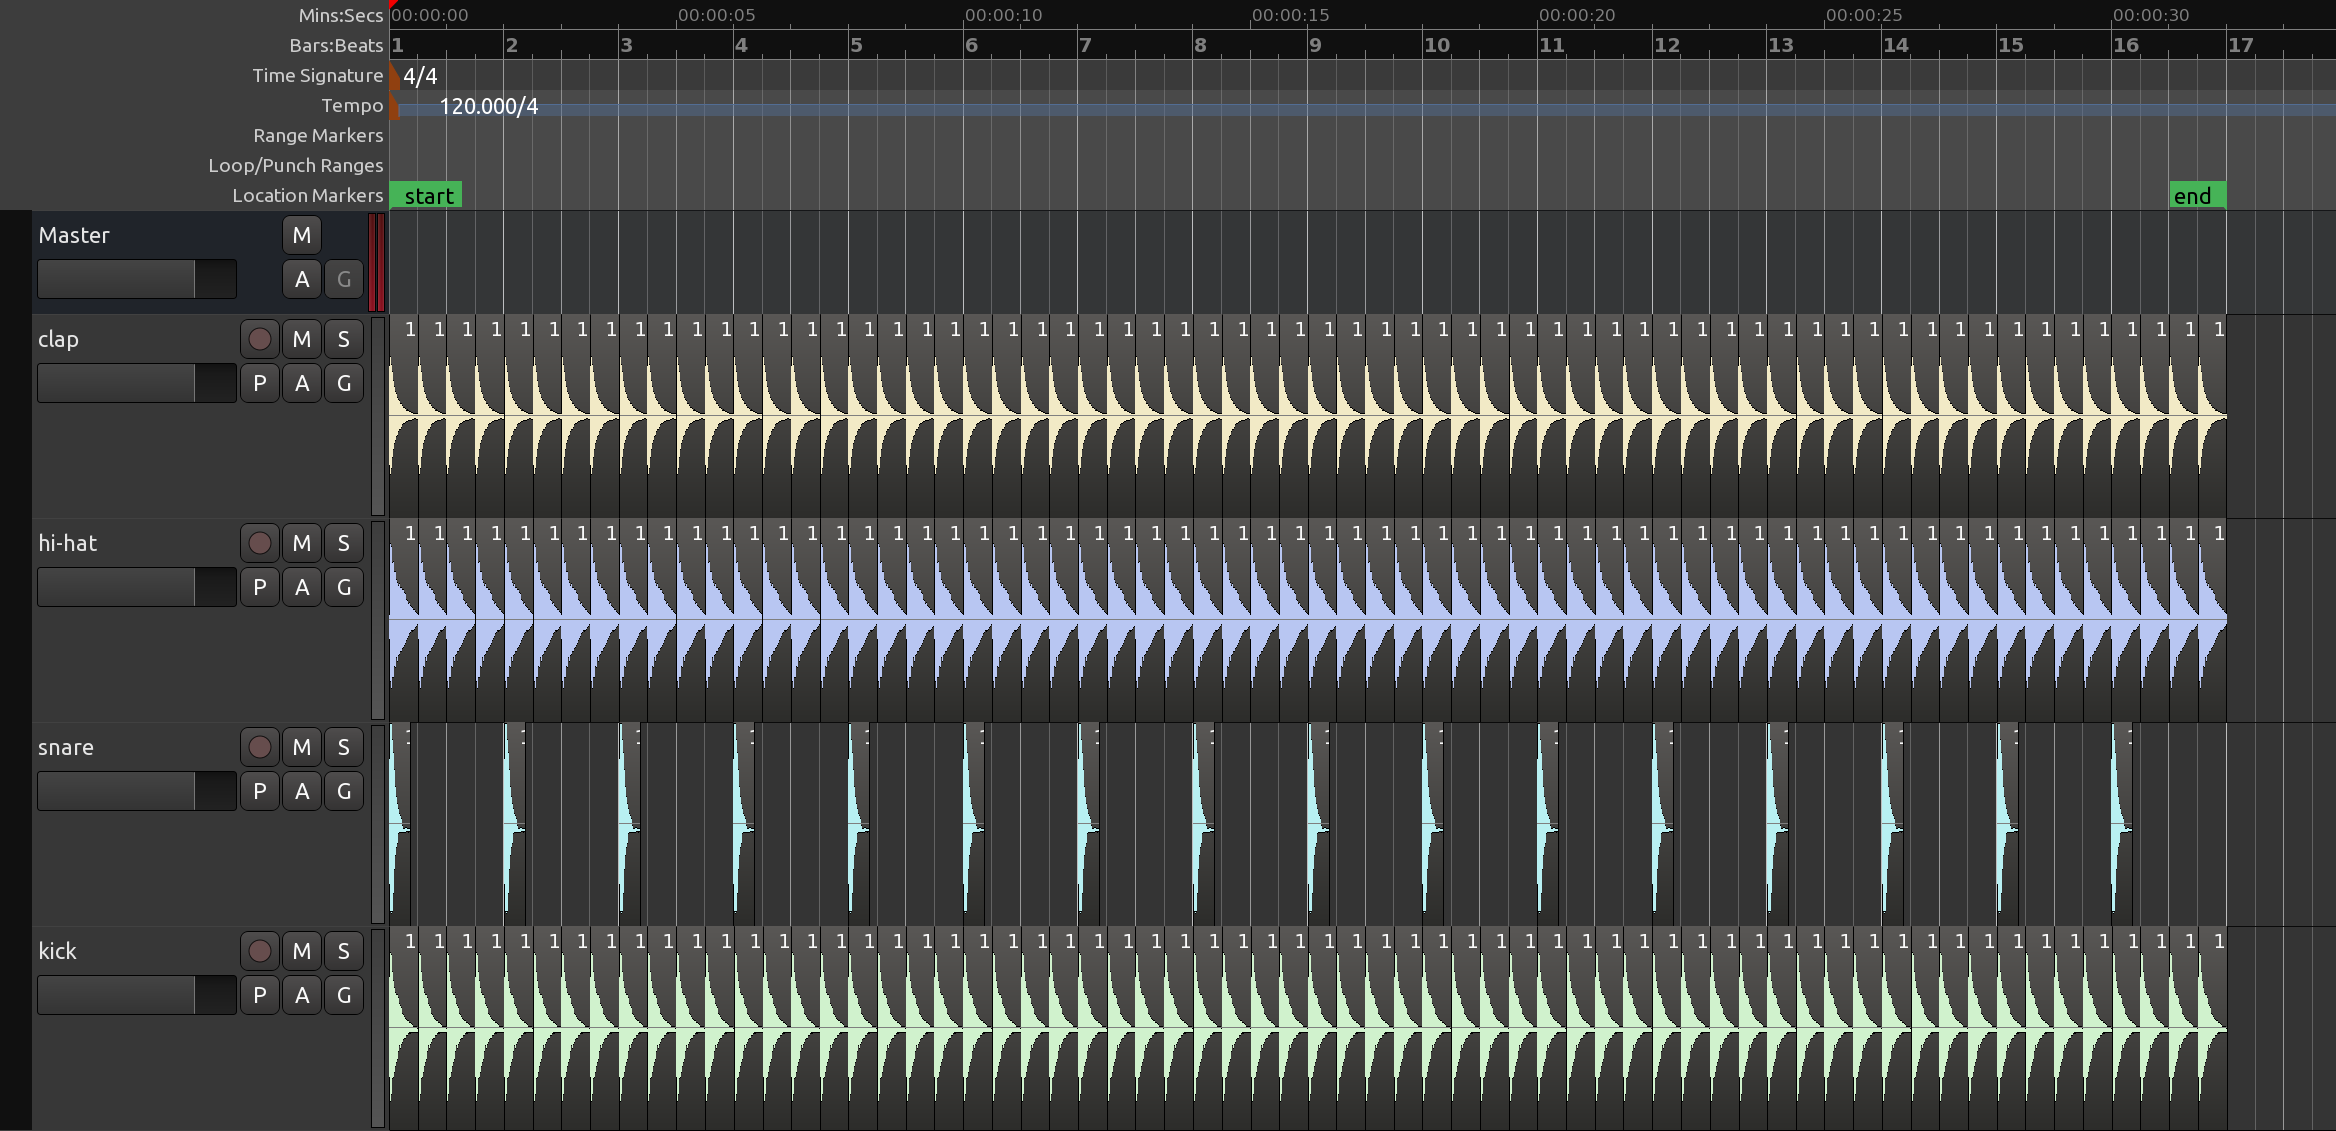
The Multi-Duplicate feature (seen in the Working with regions chapter) is a good way to accomplish this. Go back to Grab mode (G) , select all regions, and hit Shift+D. Choose how many times you want to duplicate the pattern (for example, 16). After duplication our session looks something like this:

Just for review, other options you could have used for duplication are:
The Fill Track command from menu
Region > Duplicate > Fill Track. This would fill the entire track with copies of the selected regions, all the way up to the End Marker.The single Duplicate command from the same menu (Alt+D). This lets you make a single copy at a time.
The single duplicate action with Ctrl+Click on the region + Drag a copy.
Continuing
In the next tutorial we will learn about stretching/shrinking regions that are longer or shorter than one bar in order to fit the rhythm of our passage.